Connect to Azure using Point-to-Site VPN to Connect to Azure SQL Database
This past week a client of mine gave me a challenge:
Configure an environment that meets the following criteria
- Remove the need to manage IP addresses for SQL Azure
- Use a hub and spoke VNET configuration
- Connect to Azure using a VPN - using Azure Active Directory (AAD) authentication would be a bonus
- Connect to SQL Azure using AAD authentication
Originally, I thought this would be quick and simple … turns out it isn’t. After doing some searching online, I found many people trying to solve similiar challenges. Here are some recent posts I found in Microsoft Learn:
- Azure SQL Access Through VPN
- Connecting to an Azure SQL server with a P2S VPN connection
- Using Private Endpoints in Conjuction with a Virtual Network Gateway
- How to connect from an azure VPN to an azure SQL server from my PC?
Some of the solutions I found in Microsoft Learn and Stackoveflow require a DNS server to be setup or modify the client machine’s hosts file. After spending way more time on this than I had planned, I figured it out. This blog post is to help explain the problem and help the reader solve the problem themselves.
Break the challenge into part two parts
I broke the the challenge into these two parts:
- Configure VPN access into a VNET peered with another VNET
- Getting my local machine to “see” a SQL Azure Database (over VPN) without a public IP firewall setting on it
The reason I broke the challenge into the two parts was because I know how to do the first part already (I’ve setup VPNs in the past with peered VNETs). If you haven’t setup a VNET gateway and VPN Client a good place to start is with to official documentaion: Configure server settings for P2S VPN Gateway connections - certificate authentication - Azure portal. However, read on to find an easier way using AAD. A good tuturial on VNET peering is Azure Tips and Tricks Part 182 - Use VNET peering to connect existing VNETs.
This week I found out it is easier to configure a VPN Gateway using Azure Active Directory authentication than it is to use certificate authentication. Luke Murray provides a great walkthrough of how to do this: Create Azure Point to Site VPN using Azure Active Directory authentication.
The Hard Part
Once I got the VPN Gateway, two VNETs configured and my local VPN client communicating with the Azure VNET out of the way, that left the challenge of Azure SQL. Important features of SQL Azure to remember:
- SQL Azure is a Database as a Service platform with a public IP and a FQDN that points to that public IP
- It can be communicated to over a VNET (but it needs a subnet with multiple IPs to do so)
- Using a Private Endpoint will surface the Db server in a VNET with a single private IP address
With #1 and #2, whenever you try to connect to the database server with SSMS (SQL Server Management Studio) locally, you are attempting to use the public IP -> which requires your IP to be added to the firewall.
With #3 you get a private IP for the database, however the problem is that Private Endpoint is designed to work with resources in the VNET in Azure -> not on my local machine using a VPN client. There is a missing piece: my machine knowing about the DNS details needed to communicate with the private endpoint.
The blog I found that introduces the missing component is Luke Murray’s Azure Private DNS Resolver and Azure Point to Site VPN. When I read the blog, I hadn’t even heard about the Azure Private DNS Resolver product, but everything he mentioned was pretty much what I was trying to do. After working through his steps a few times I got it all working.
Important: The Azure Private DNS Resolver and some modifications to the VPN client configuration file is what allows your local machine to see the resources like Azure SQL on a Private Endpoint in a VNET (with no modifications to your hosts file needed).
The Solution
The rest of this post will walk you through how to setup a reference implemenation of the following diagram:
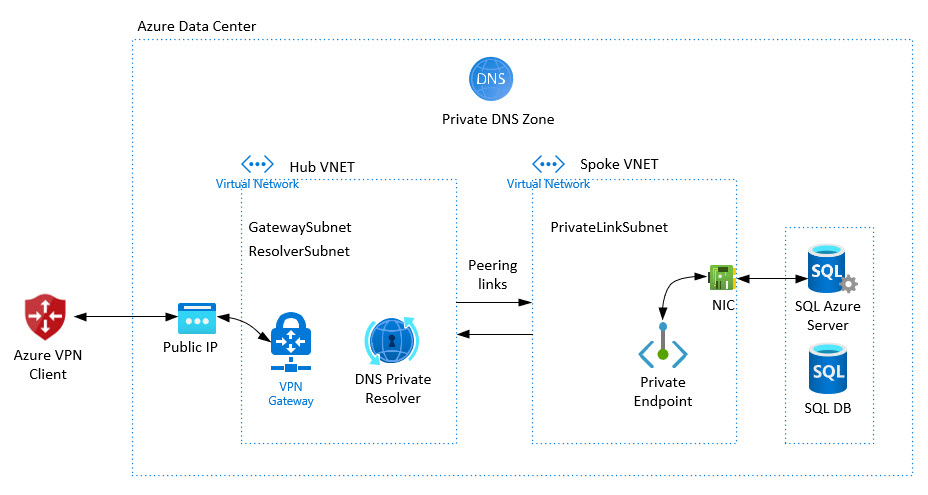
The solution includes these items/resources:
- Azure VPN Client to connect to a VPN Gateway using AAD authentication.
- A VPN Gateway, with a Public IP
- A Hub VNET, with 2 subnets (GatewaySubnet, ResolverSubnet)
- A DNS Private resolver for the Hub VNET
- A Private DNS Zone (to map SQL DB FQDN to private IP)
- A Spoke VNET (peered with the Hub VNET, with 1 subnet (PrivateLinkSubnet)
- An Azure SQL Db Server and Databaes for verifying the connection
- A Private Endpoint with a (Network Interface Card) NIC connected to the Azure SQL Db Server
If you don’t need the Hub/Spoke VNETs that removes the additional VNET and peering configurations you’ll need to do.
In order to keep this post shorter, I have created a bicep file that does the heavy lifting of creating the resources. I will not be explaining all of the configuration details in this post (maybe a later post) … so currently I am assuming you, the reader, will use this as a learning tool and not a tutorial.
Prerequisites
- An Azure account with an active subscription. If you don’t have one, you can create one for free.
- Global Administrator access to your Azure Active Directory (this is needed to grant permissions to the Azure VPN application)
- Azure VPN Client
- Azure CLI
- Bicep tools
- SQL Server Management Studio
Setup
In order to have the desired AAD authentication, there are a couple of things that need to be setup in Azure Active Directory first.
VPN Access
First is the configuration for using AAD authentication with the VPN (these steps are taken from this tutorial: Configure an Azure AD tenant and P2S configuration for VPN Gateway P2S connections)
- Grant consent to the Azure VPN client app by navigating to this link: https://login.microsoftonline.com/common/oauth2/authorize?client_id=41b23e61-6c1e-4545-b367-cd054e0ed4b4&response_type=code&redirect_uri=https://portal.azure.com&nonce=1234&prompt=admin_consent
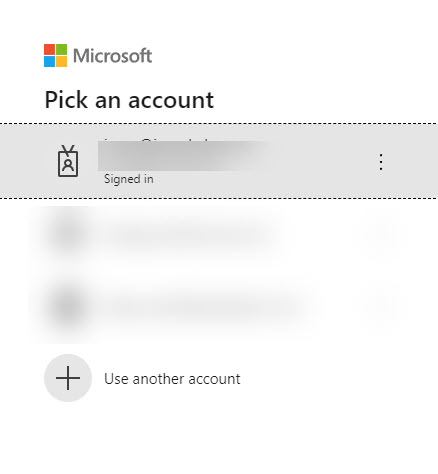
- Select or sign in with the Global Administrator account
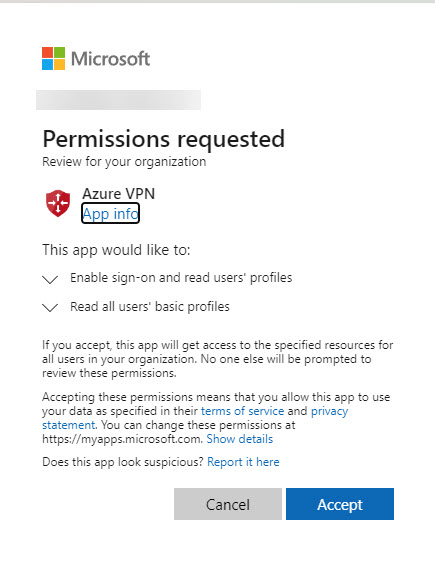
-
Click the Accept button
-
In the Azure portal, go to Azure Active Directory. On the overview panel, grab the Tenant ID for later

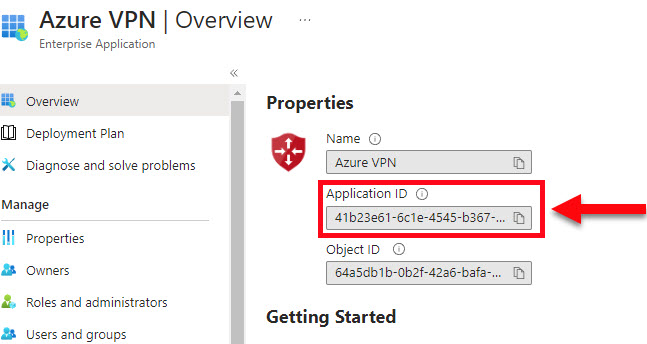
- In the left pane select Enterprise applications.
- Type “Azure VPN” in the search box and select the application from the grid to see the details.
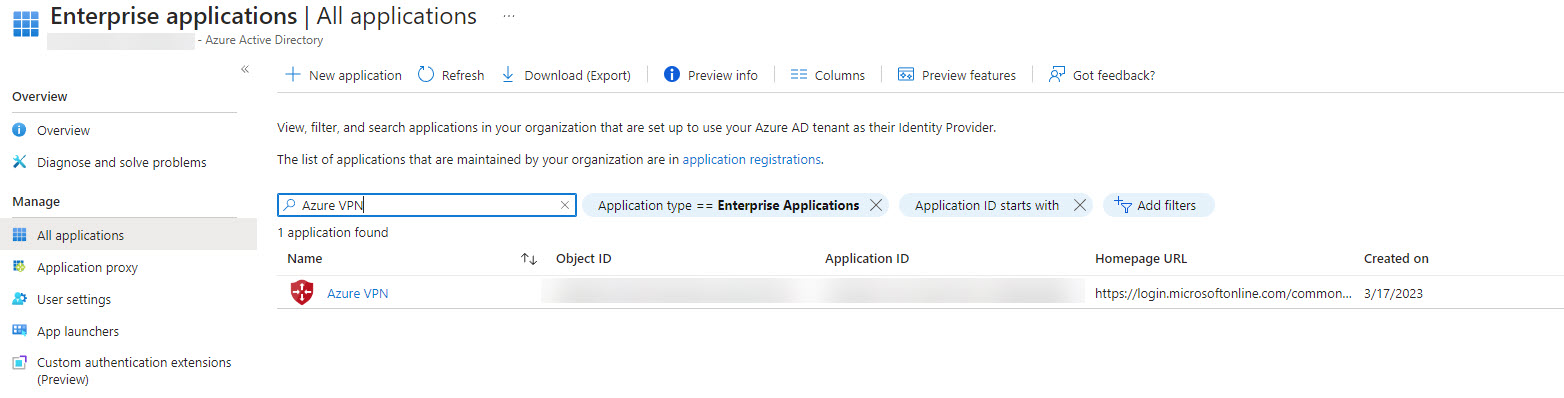
- Copy and keep the Application ID for later when we configure the VPN
Database Access
Next is create an AAD group to be used in the bicep file to control access to the database.
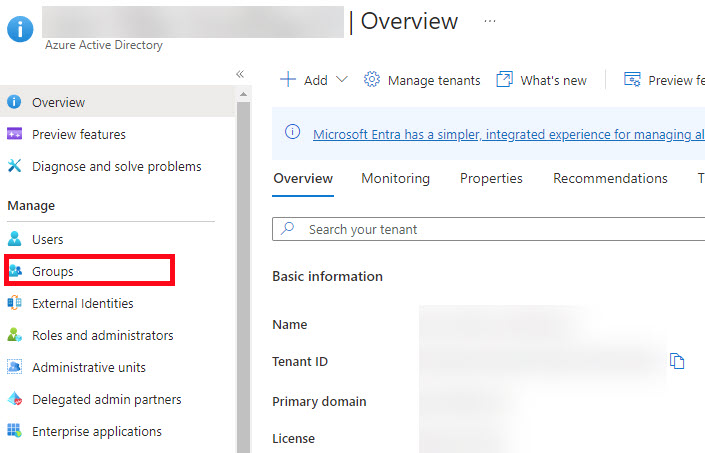
- In the Azure Portal, go to your Azure Active Directory tenant overview page. In the left pane, select Groups
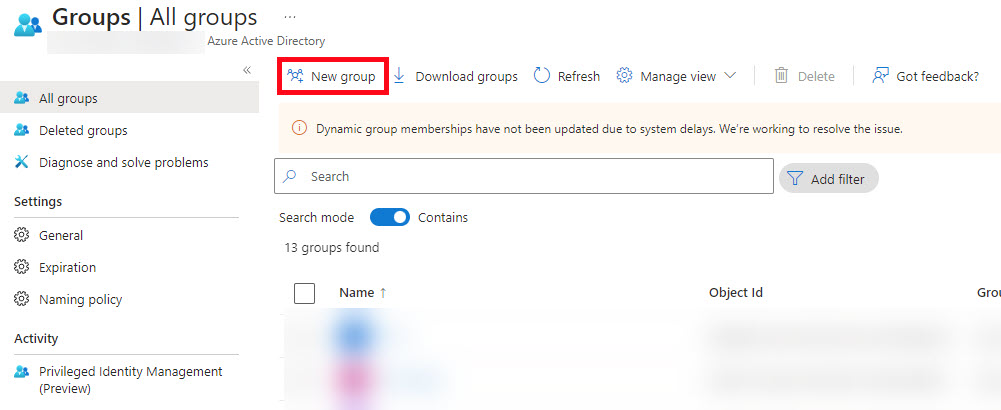
- Click the New Group button in the upper left
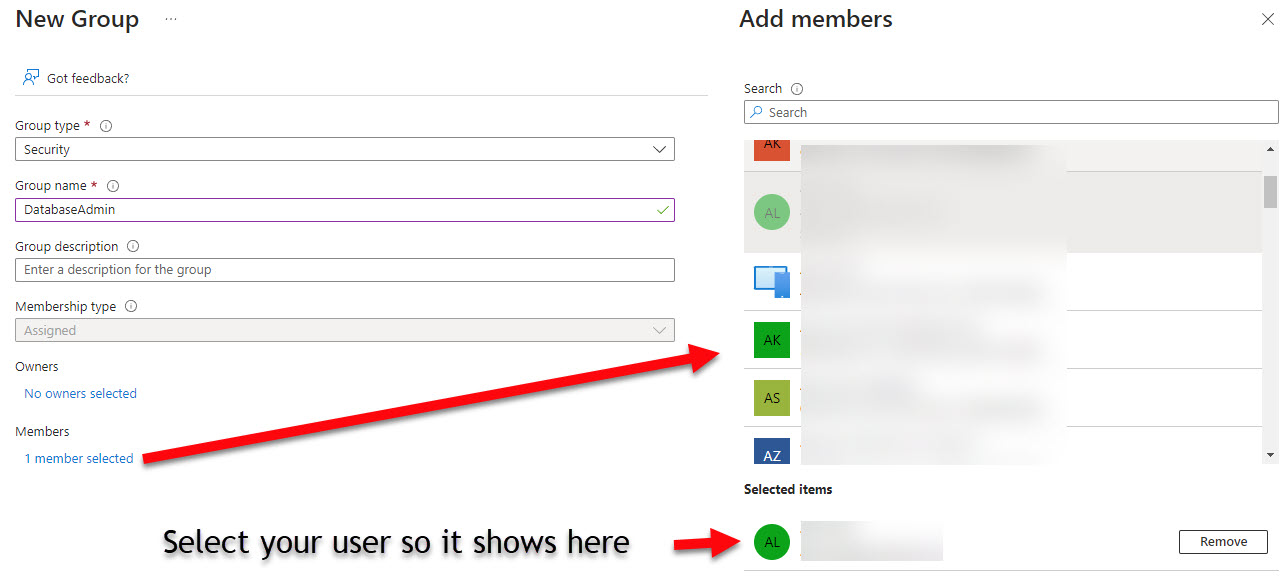
- Set the following properties:
- Group Type: Security
- Group name: DatabaseAdmin
- Members: Add yourself
-
Click the Create button.
-
Back at the Group listing, Search for DatabaseAdmin in the search box and copy the Object Id for later use.
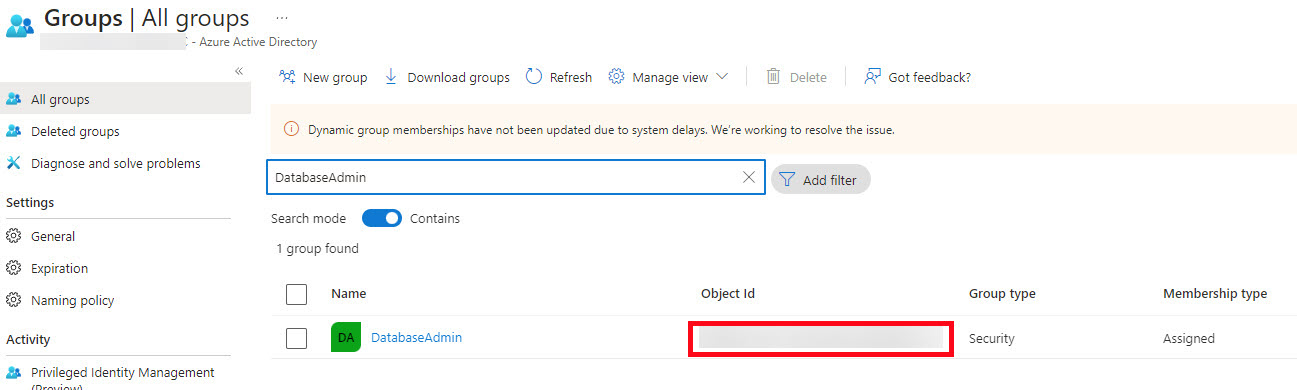
These are the items you need to have ready for the next steps:
- Your Azure AAD Tenant ID
- The Azure VPN Client Application ID
- The DatabaseAdmin AAD Group’s Object ID
Azure Resources
In this portion, you’ll need to run a bicep file. Be warned, it takes at least 30 minutes to complete (33 minutes for me).
First you’ll need to sign into Azure using the CLI. Run the command below and follow the prompts to get logged into your account.
az login
If you haven’t used your Azure CLI installation for awhile, you may want to make sure it is up-to-date before continuing on. You can do this by running the following:
az upgrade
Also if you haven’t used Bicep for awhile, you may way want to make sure it is also up-to-date by running:
az bicep upgrade
Download the bicep file and save it someplace to use it with your Azure CLI.
Create a resource group for the resources
az group create --name vpn-vnet-demo --location eastus
Run the bicep file passing the parameters for your AAD values
az deployment group create --resource-group vpn-vnet-demo --template-file resources.bicep --parameters aadTenantId=<AAD Tenant ID> aadAudienceId=<Azure VPN Application ID> dbAdminSid=<AAD DatabaseAdmin Object Id>
NOTE: Do not put quotes or single quotes around the guids passed as parameters
You can check the status of the deployment in the portal by going to the resource group you created above and selecting the Deployments item in the left panel.
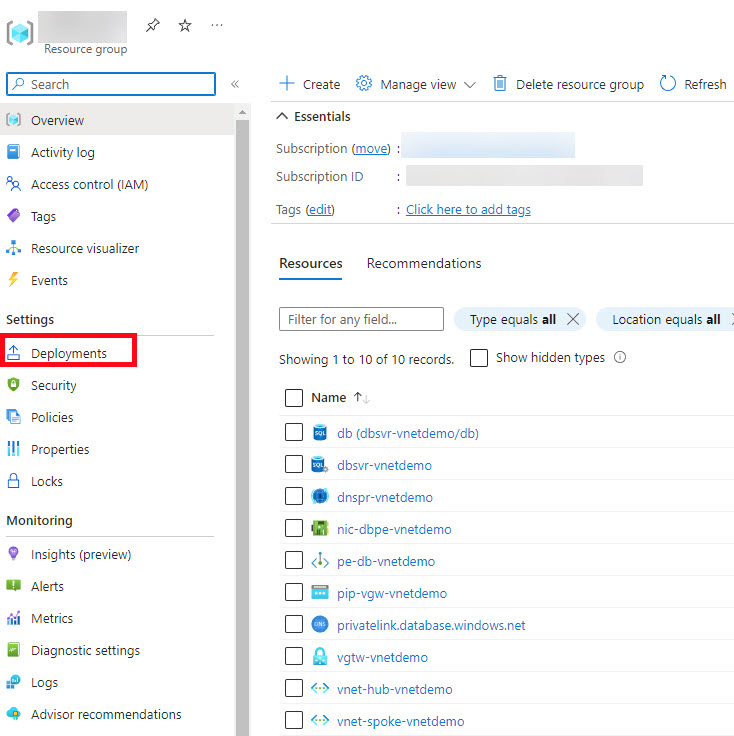
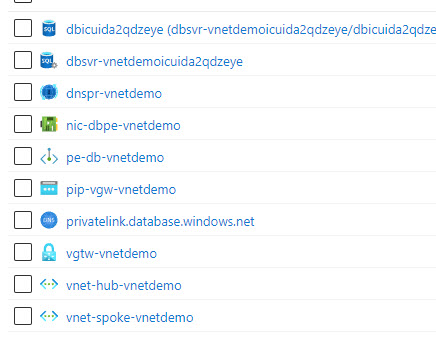
Once the deployment is finished, the list of resources should be similiar to this screenshot (names will vary a little):
Configure VPN Client
Next configure the VPN Client and modify the corresponding xml file once downloaded on your machine.
- In the Azure Portal, go to your Virtual Network Gateway and select Point-to-site configuration in the left menu
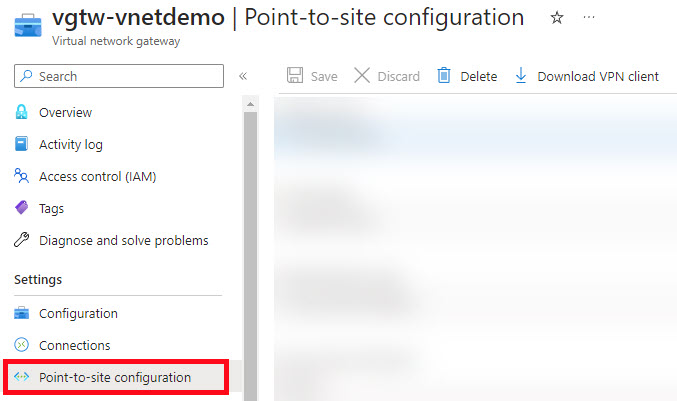
- Verify the your Tenant Id and the other values macth the screenshot below:
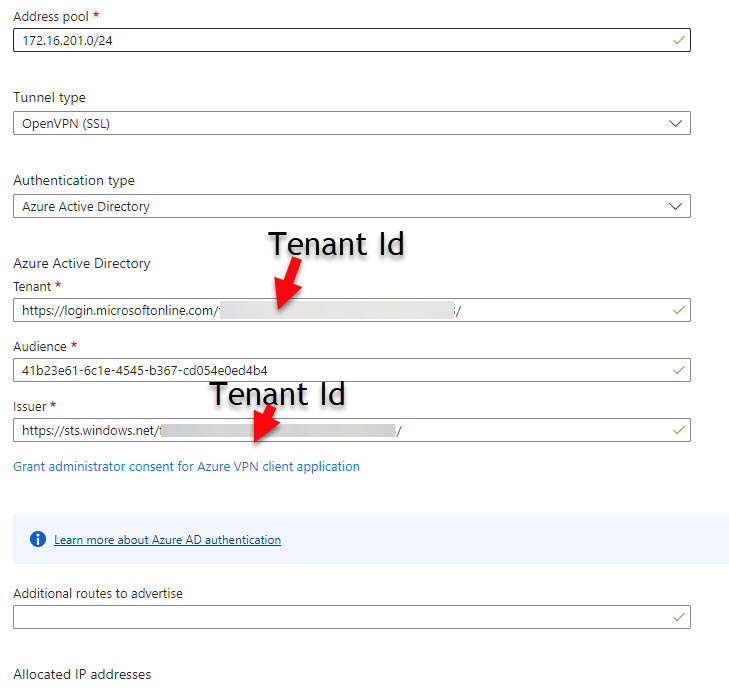
If you had to change anything, click the Save button.
- Click the Download VPN Client button

Once the VPN Client downloads, you will need to extract the files in a location you can access them.
In order to connect the VPN Client to the DNS private resolver, you need to do the following:
-
In the portal, find the resource group you created for the bicep file.
-
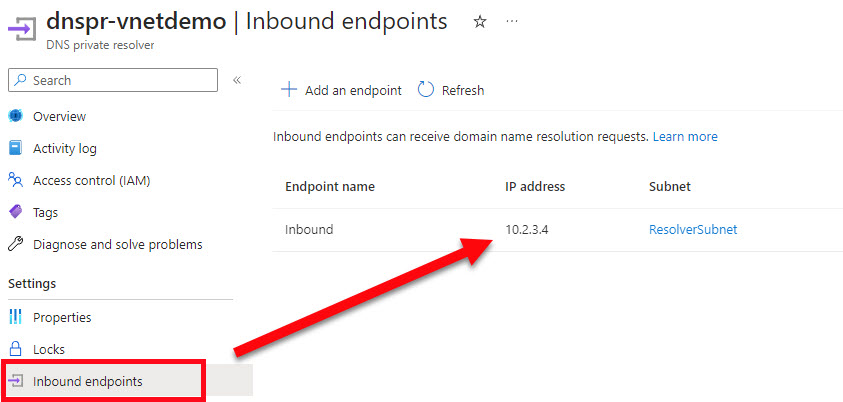
In the listing of resources, select the DNS private resolver dnspr-vnetdemo
-
Select the Inbound endpoints item on the left menu and note the IP Address.
-
Find the VPN Client files you extracted and locate the azurevpnconfig.xml file in the AzureVPN directory. Open it in a text editor.
-
Modify the
<clientconfig>element to point at the DNS private resolver for a DNS server like shown below:
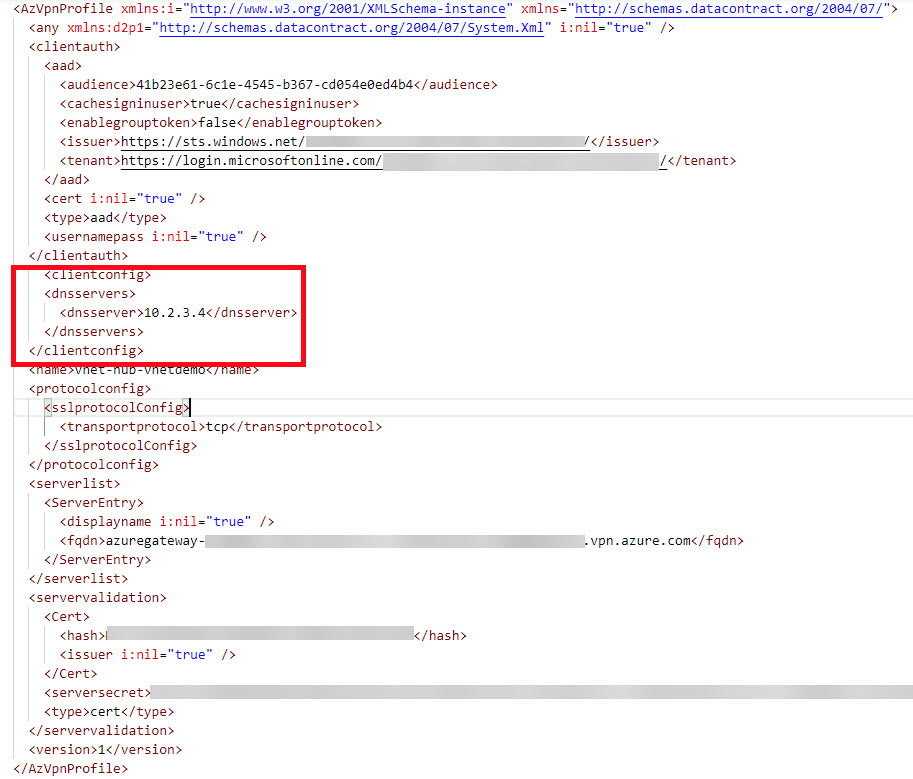
- Save the changes to the azurevpnconfig.xml file
Connect and Verify
Now let’s verify the setup works.
- Open the Azure VPN application
- Click the + in the lower left corner and select import
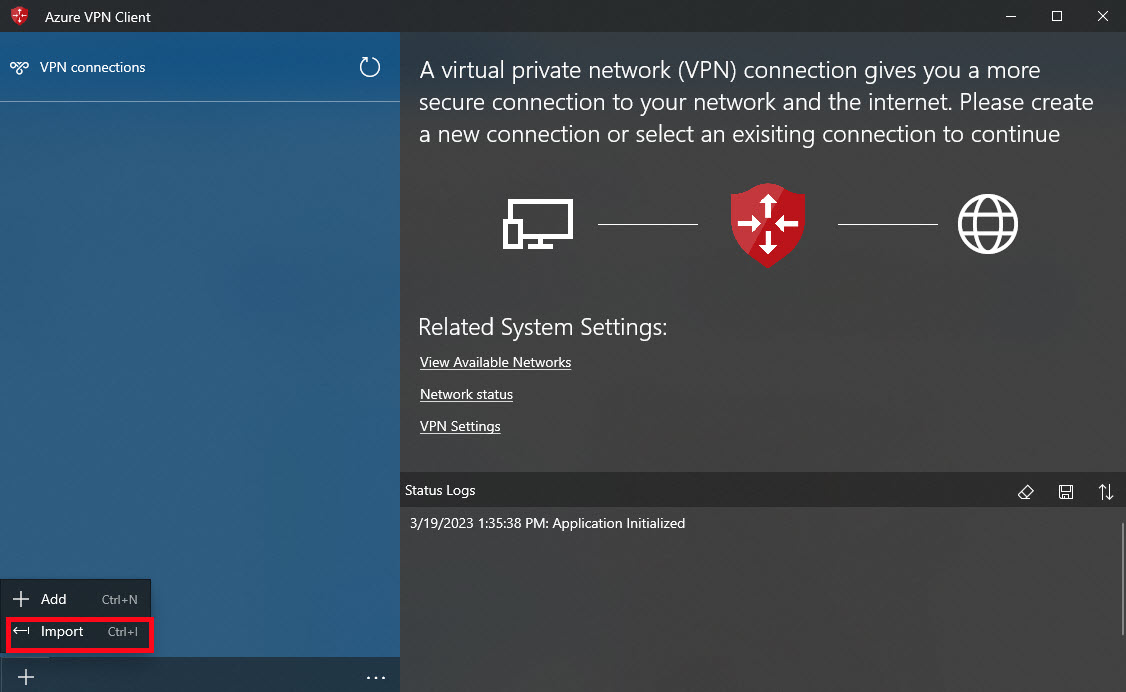
- Locate the azurevpnconfig.xml file you just modified and click open.
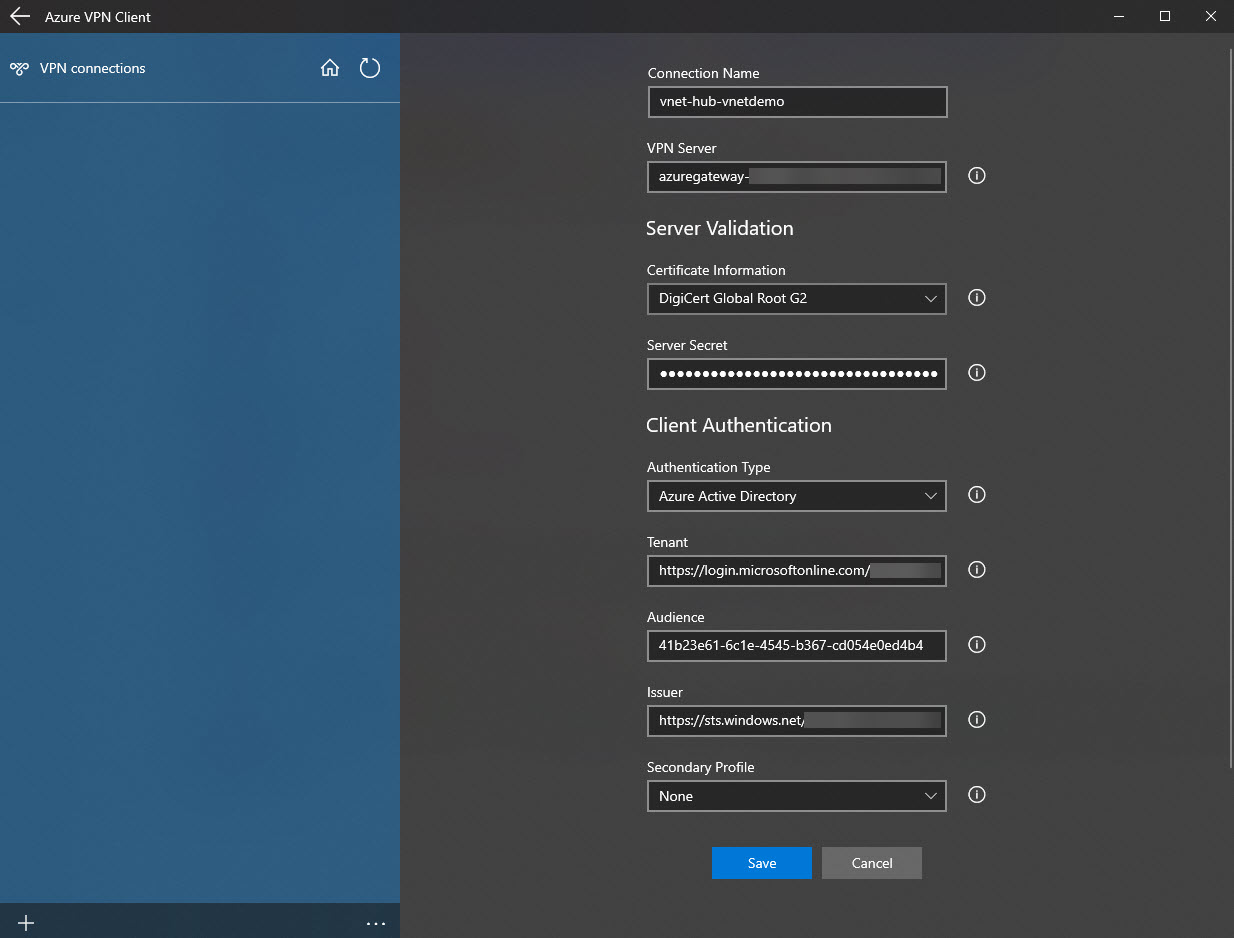
-
Verify the configuration looks correct and click Save.
-
Click Connect
Login if you are prompted to do so.
-
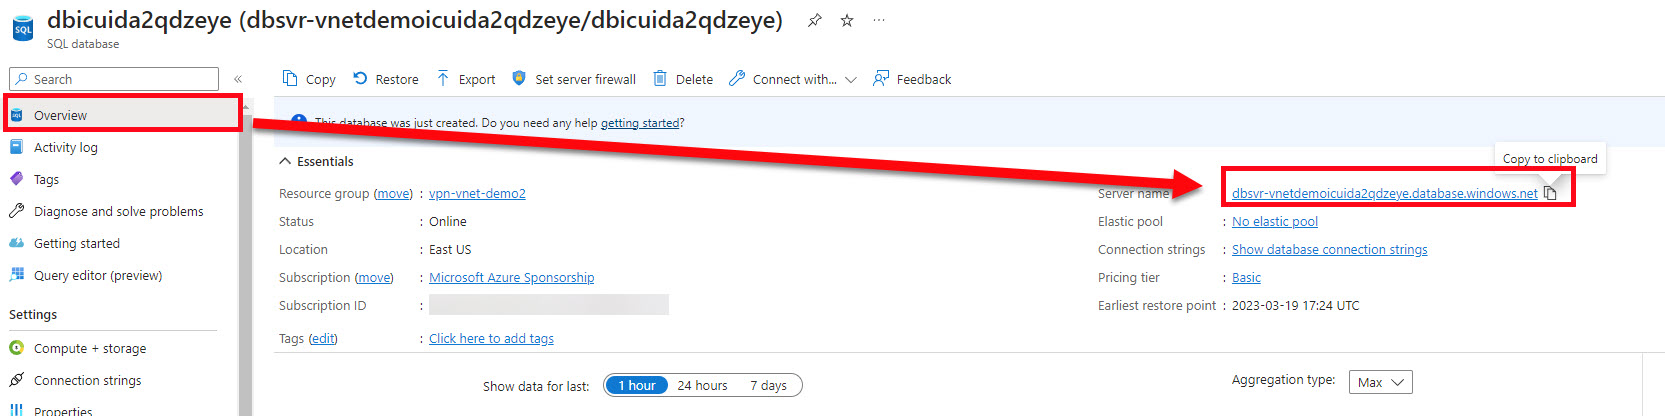
In the Azure portal, go to the resource group with all the created resources in it. Locate the Azure SQL DB and select it.
-
Select Overview from the left menu
-
Copy the Server name:
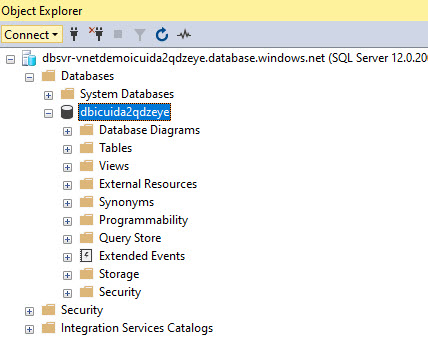
Now let’s verify the database connectivity.
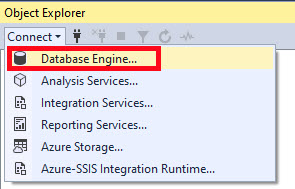
- Open SSMS
- Select Connect, then Database Engine
- Set the following properties in the dialog:
- Server Name: Paste the Server Name from the portal
- Authentication: Select Azure Active Directory - Universal with MFA
- User name: Your AAD user name
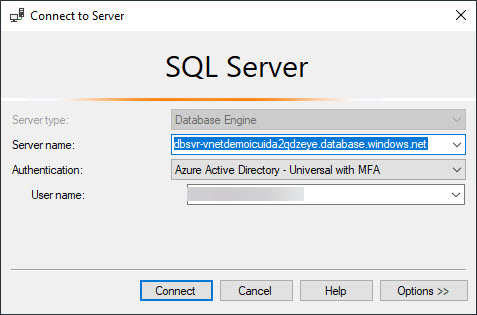
- Click Connect
You should be able to connect.
Other Resources Used
- Troubleshooting: Azure point-to-site connection problems
- Configure an Azure AD tenant and P2S configuration for VPN Gateway P2S connections
- Generate P2S Azure VPN Client profile configuration files - Azure AD authentication
- Azure Private Link for Azure SQL Database and Azure Synapse Analytics
- Use virtual network service endpoints and rules for servers in Azure SQL Database
- Tutorial: Connect to an Azure SQL server using an Azure Private Endpoint using the Azure portal